Black and white Image

This is the first save of the black and white image where we used blur to accent a particular place or person in the photo.
1. Using the magnetic lasso tool, we traced the person and inverse selected it.
2. We created a layer mask to fix our selection and to make it more crisp.
3. Using a filter we used one of the several blur options (Gaussian blur)
4. Saved the image and put it in Weebly.
1. Using the magnetic lasso tool, we traced the person and inverse selected it.
2. We created a layer mask to fix our selection and to make it more crisp.
3. Using a filter we used one of the several blur options (Gaussian blur)
4. Saved the image and put it in Weebly.
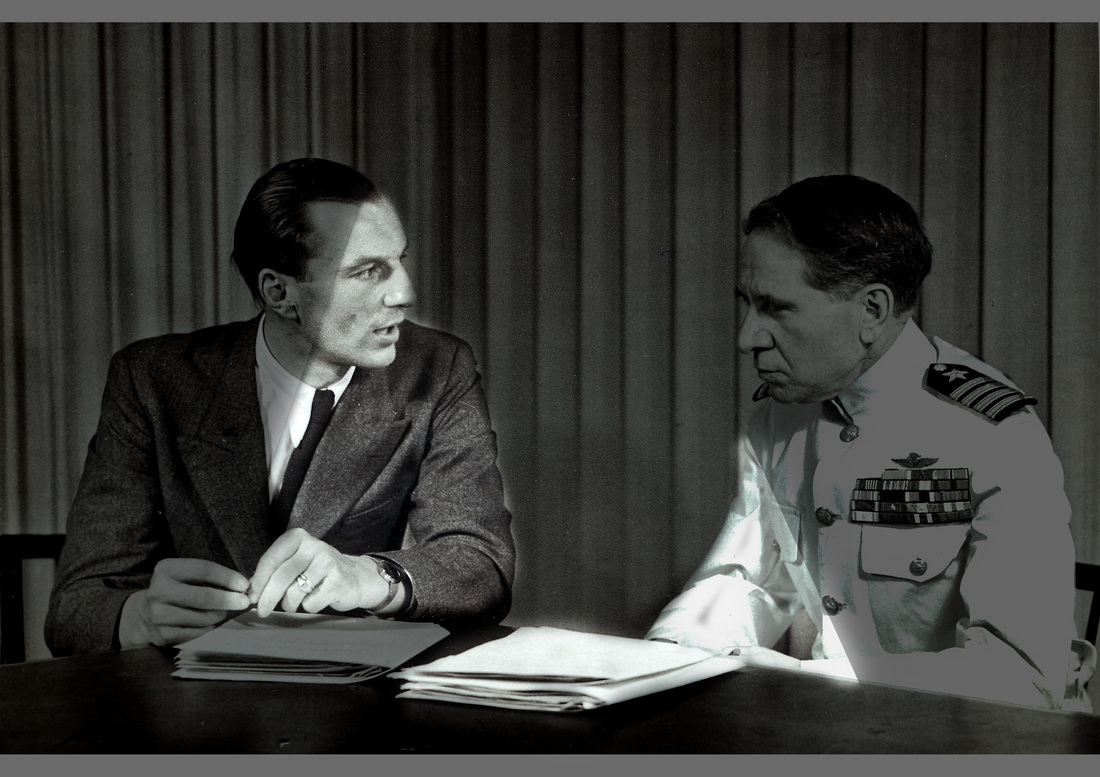
Second photo, exploring darkening images, and then using light to make a light source.
1. Use the same image format as before we darkened the image using curves in the adjustments setting
2. Using the curves, we were able to control the white and black to soften and darken the image
3. We then used the polygon lasso, to shape an area to relight it
4. We used the brush tool in the selected area to lighten the image
1. Using the colour
Story Boarding
What does it have on it?
Shot size
What is happening in the scene
Placement of characters
Shot composition
Big cartoon arrows define camera movements
regular arrow - directional (characters)
camera angle
script or overview lines
Shot size
What is happening in the scene
Placement of characters
Shot composition
Big cartoon arrows define camera movements
regular arrow - directional (characters)
camera angle
script or overview lines
